You can now extend an active consultant's assignment directly from within Flextribe - no need to create a new request from scratch or restart the sourcing flow.
An extension creates a new contract that replaces the current one, so the consultant's engagement continues without interruption. You add a business justification, set the new dates, and Flextribe handles the vendor review, contract creation and the whole flow from there.
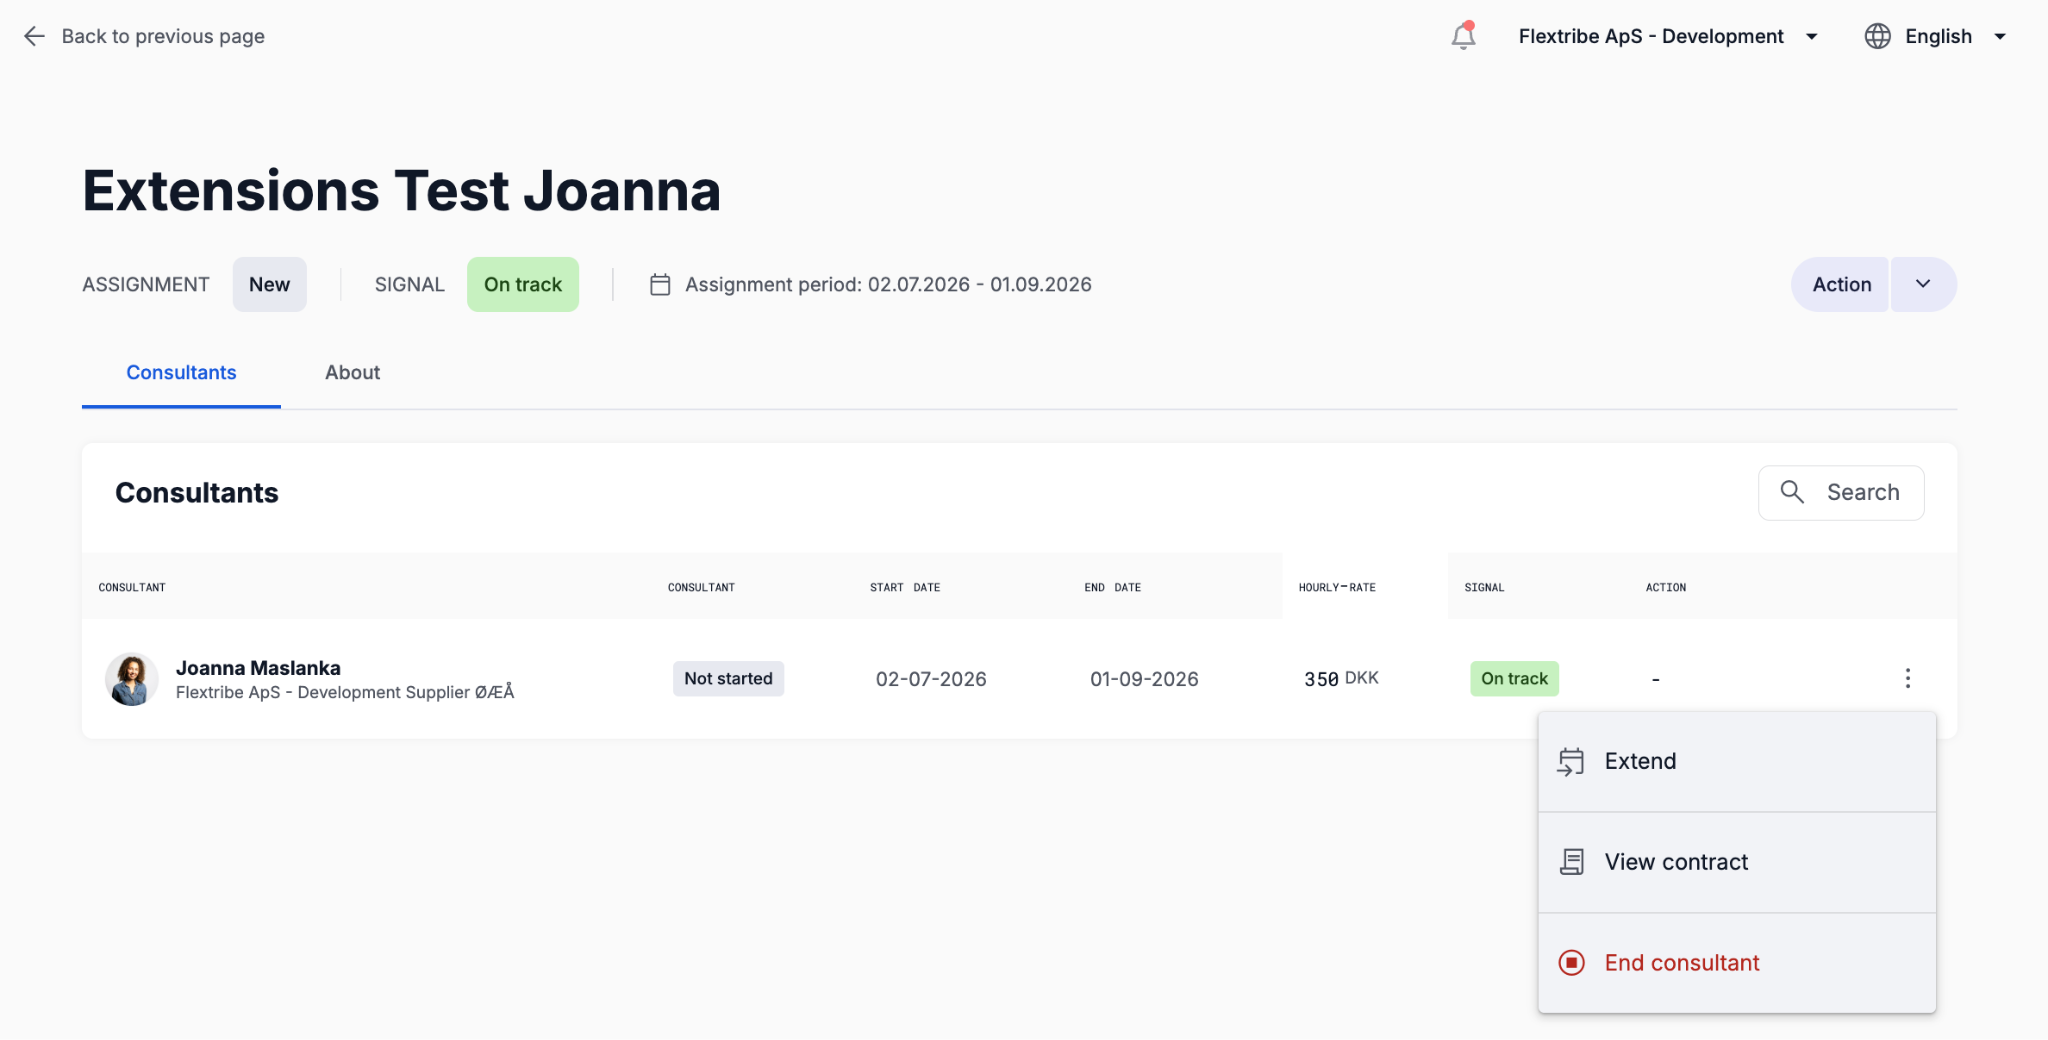
Available now on any active assignment - look for the Extend button.
For the full walkthrough, including the date logic and what changes at each step, read the article below.
Extending an assignment in Flextribe
When you need a consultant to keep working past the current contract's end date, use the Extend flow. This article covers how extensions work, the dates you need to set, and what happens once you submit.
You can watch the full video here: https://www.loom.com/share/89c282d7e6e1422095f6d56780dfe40d
The old contract keeps running and handles billing right up to the new contract's start date.
On that date, the old contract closes automatically and the new one takes over.
Only one contract is ever active at a time.
When to extend
Two entry points:
Anytime during the contract, from the assignment page.
Via the 45-day review prompt, which Flextribe raises automatically before the consultant's end date - asking whether to extend or let the engagement end as planned.
Two kinds of dates coexist on every consultant. They're easy to confuse.
Consultant (engagement) dates cover the full span the consultant has worked for your organisation. The start is fixed on day one. The end always matches the current active contract's end date, and updates automatically.
Contract dates belong to each individual contract. They're set fresh on every extension and are never inherited from the previous contract.
One continuous engagement, many contracts. Each contract is a chapter with its own start and end page.
How to request an extension
Go to Assignments → Active and open the assignment.
Click Extend. A Request for extension page opens with the current contract's details pre-filled.
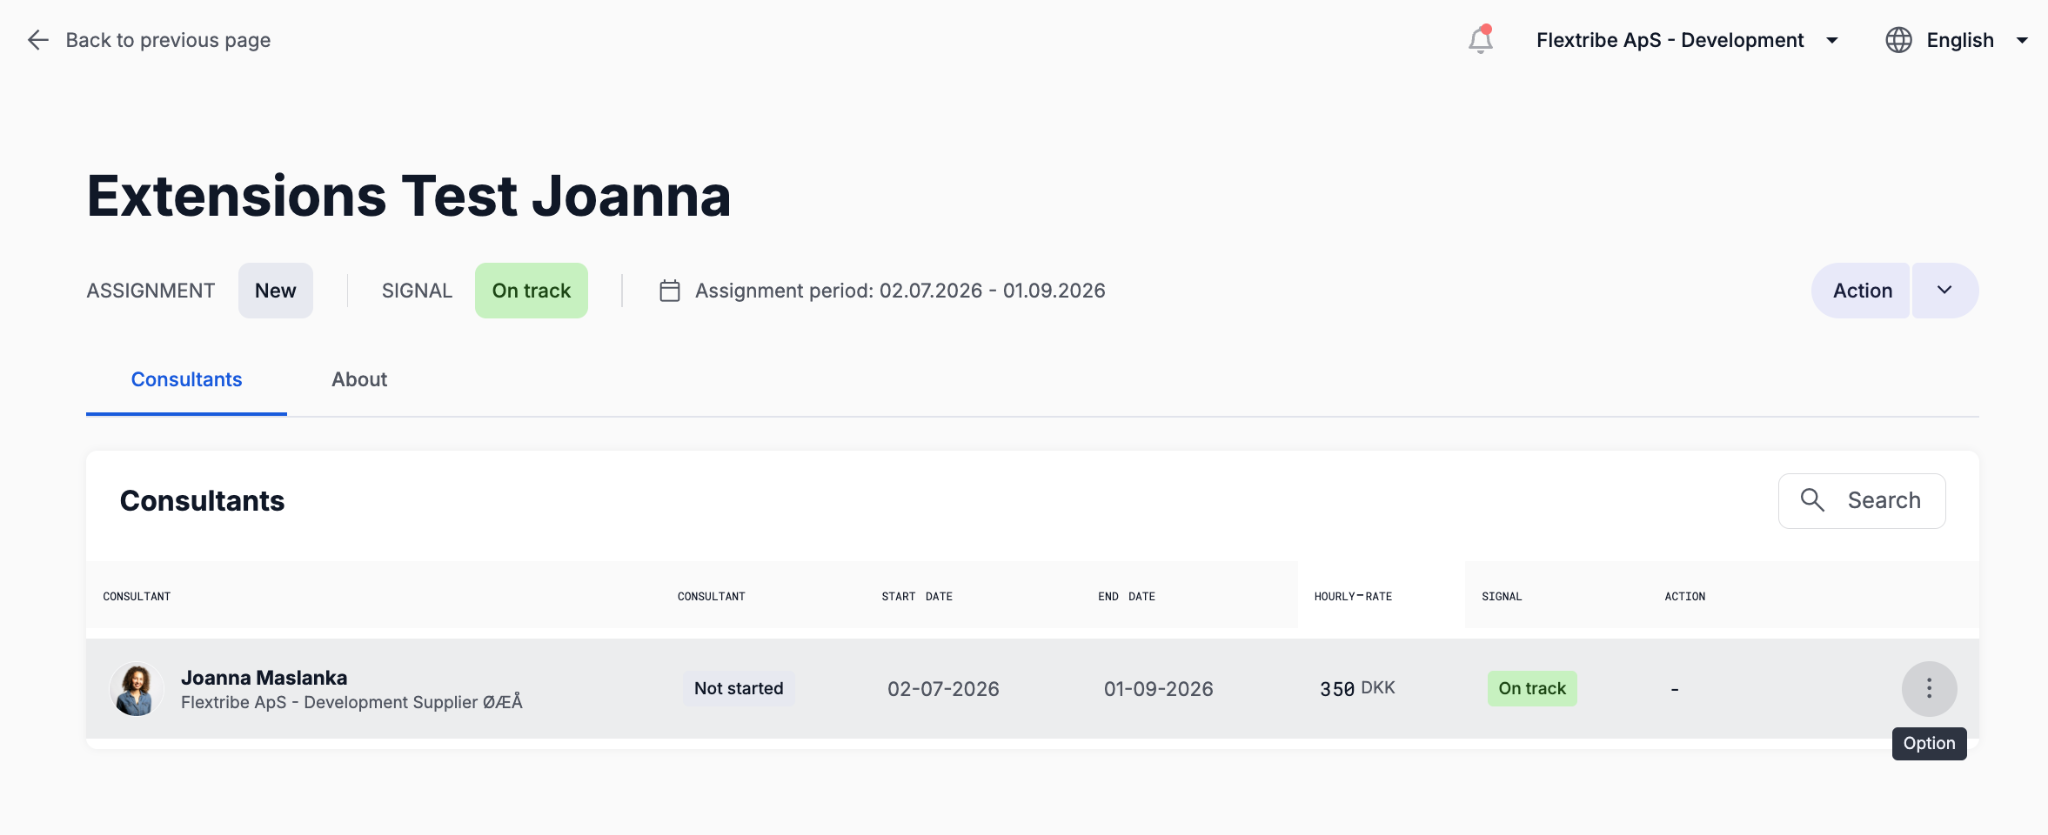
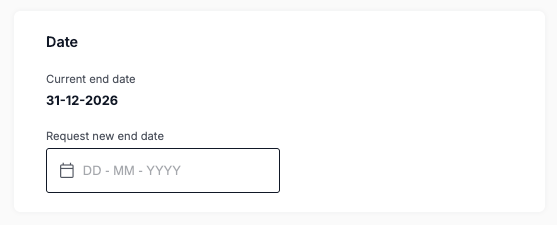
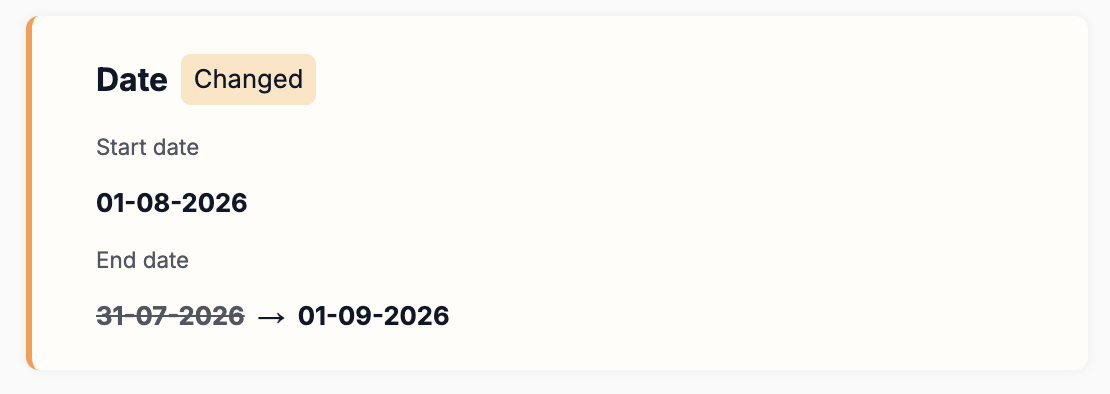
Depending on the duration of the request (within 45 days or more than 45 days from the consultant’s end date) the layout will be slightly different on the assignment page - the flow however will still be the same. The two layouts are shown below.
Within 45 days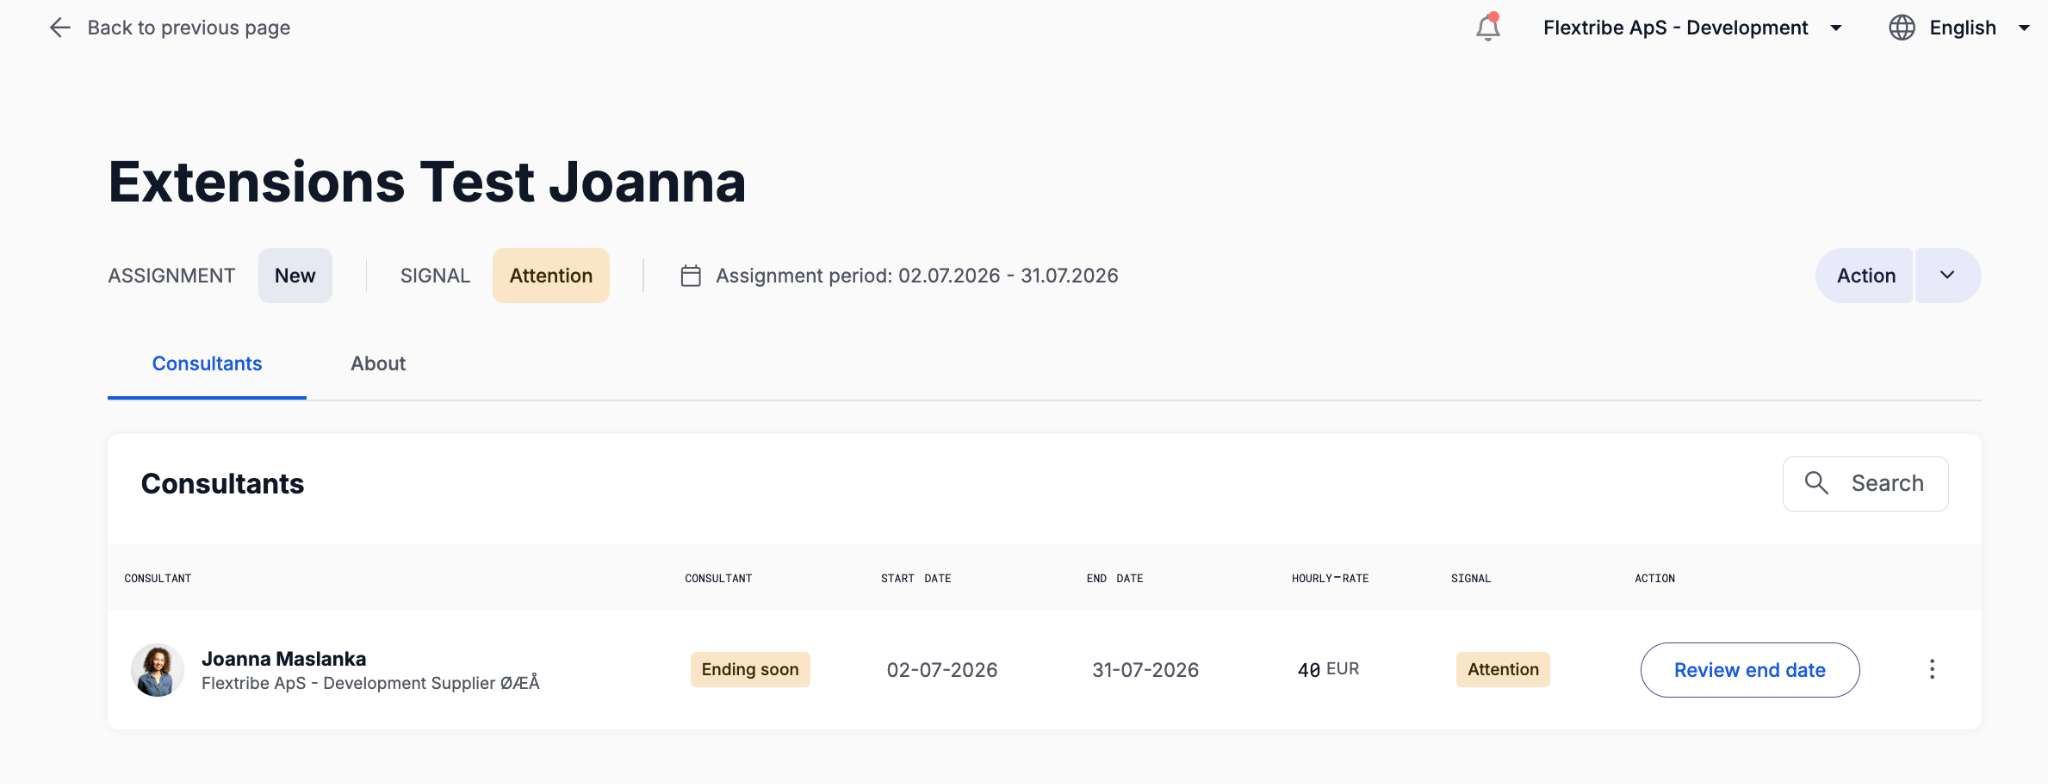
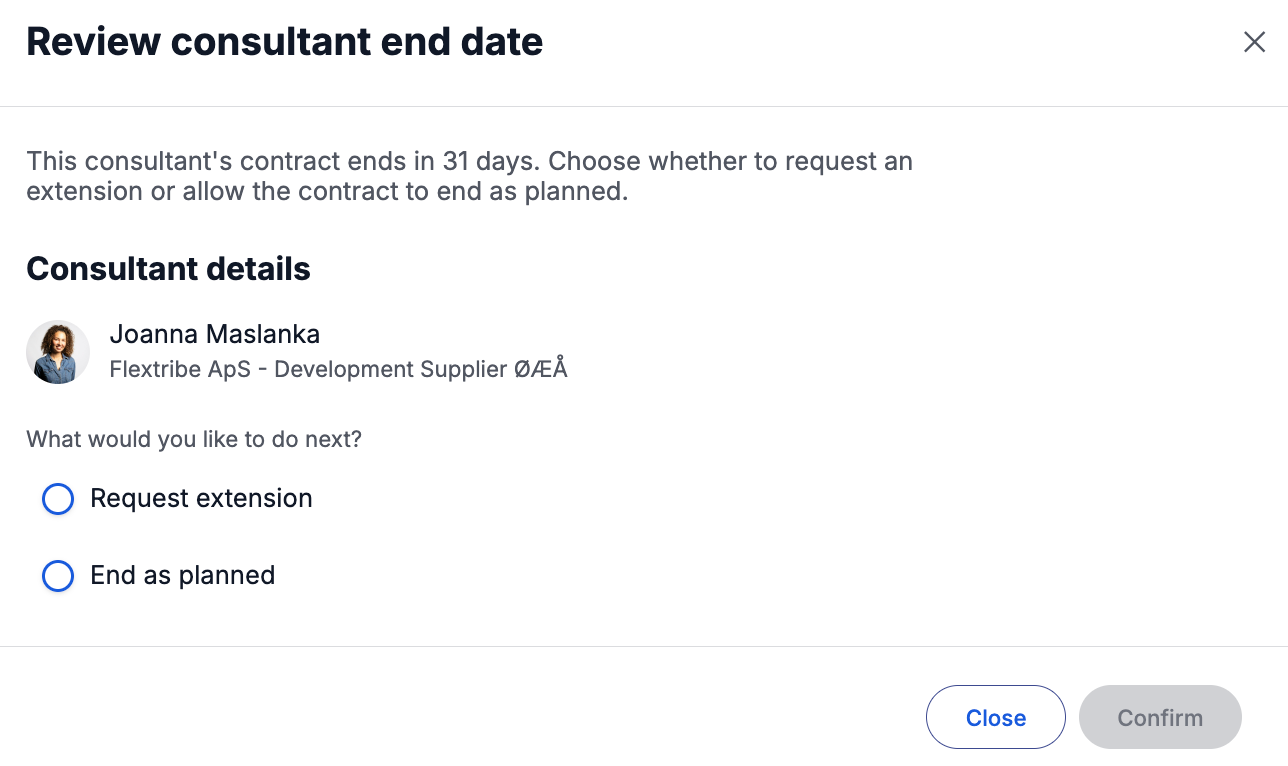
Outside of 45 days period
Review the details (location, role, rate). Edit anything that needs to change; leave the rest as-is.
Add a business justification. This is mandatory - a short line on why the extension is needed.
Set the new contract dates (explained below), then click Next step to submit.
Choosing the start date
The start date is pre-filled with the day after the previous contract ends, but you can edit it. Depending on what you pick, one of three things happens - and Flextribe shows an info banner so there are no surprises.
Clean continuation. Day after the old contract ends. Old contract finishes as planned, new one picks up the next day. No warning.
Early takeover. A date inside the current contract. The old contract closes automatically on the day before the new start date; remaining days are dropped. Useful for updating rate, hours or scope mid-engagement.
Gap between contracts. A date after the old contract ends. Allowed, not blocked - the consultant stays Active because the engagement is continuous, they just don't bill for the gap days.
Choosing the end date
Mandatory on every extension. The only hard rule: it must be after the new start date. Beyond that, Flextribe gives full flexibility - the new end date can be earlier, equal to, or later than the previous contract's end date.
What happens after you submit
1. Vendor reviews
The vendor sees the proposed terms and accepts, declines, or sends a counter-offer. If they accept, you can create the new contract. If they decline, the extension stops and the current contract carries on as planned - you can revise and resubmit, or close the request.
2. Create the new contract
You can watch the videos here:
https://www.loom.com/share/ed921c58de0a4967b316467c96613351
https://www.loom.com/share/edbf142e4c05488f8245268c77e3029a
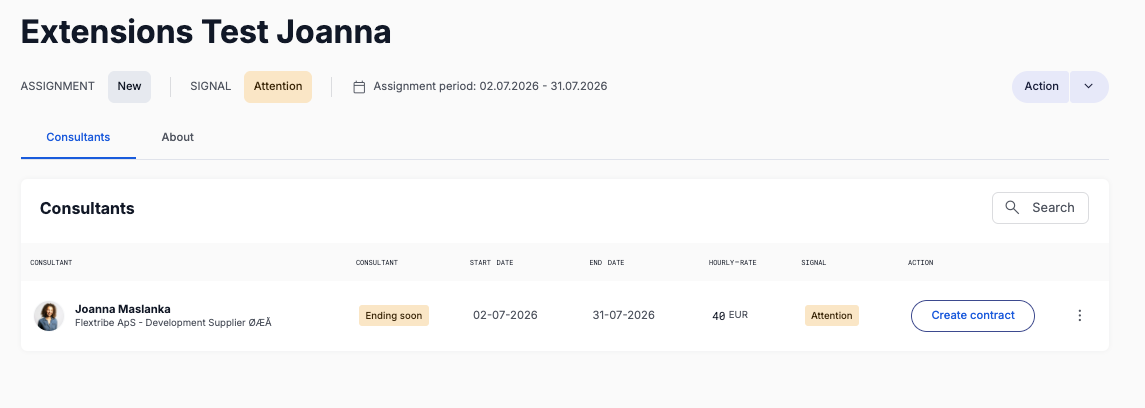
Once the vendor approves the extension, the assignment view changes slightly. Instead of the usual layout, you will now see a clear Create contract button on the assignment:
Choose the contract template. Click Next.
Confirm the approvers. Pre-filled from the original Request for Service. Change them on the spot if needed.
Add the signees (typically one from the client side, one from the vendor side). Make sure each is set to Signee, not Viewer.
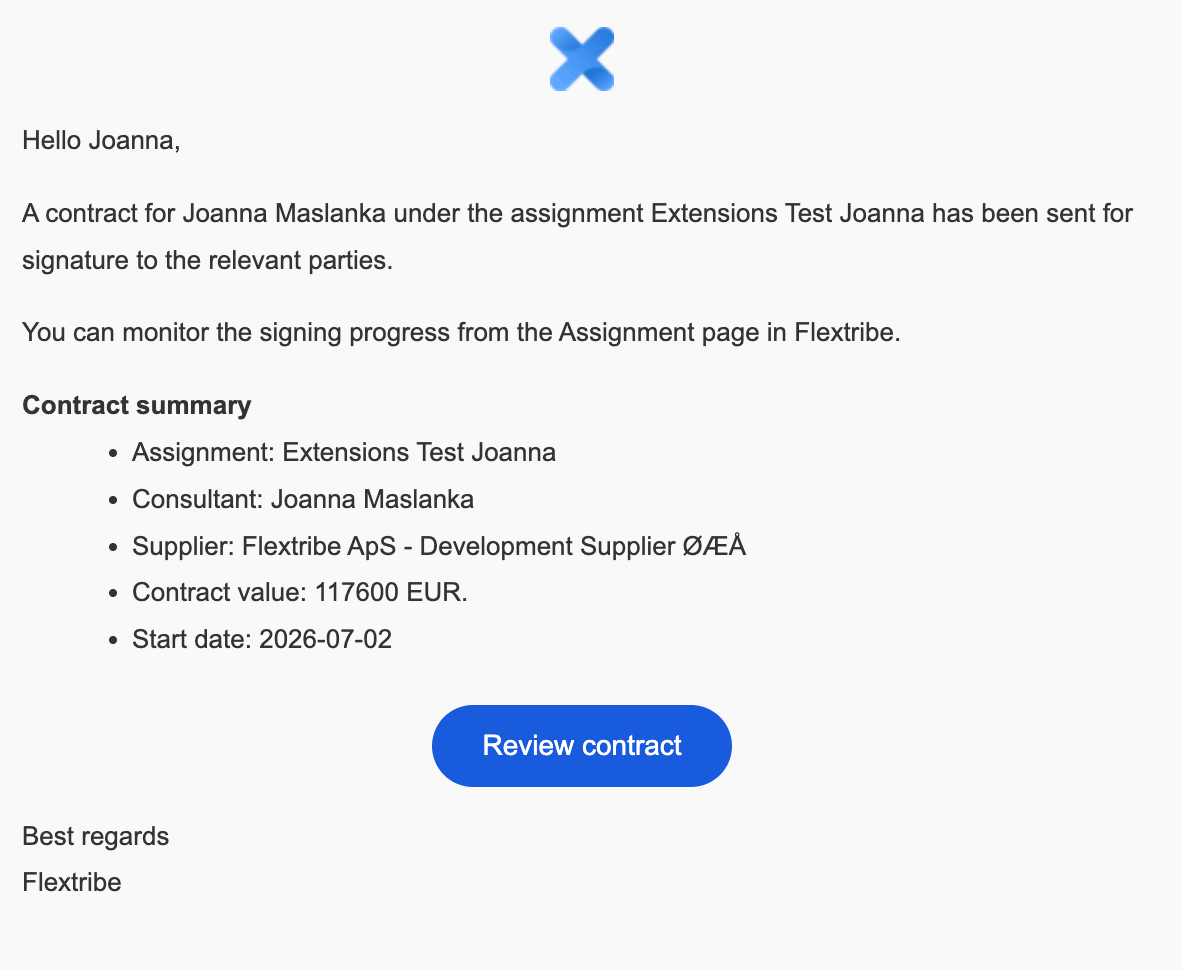
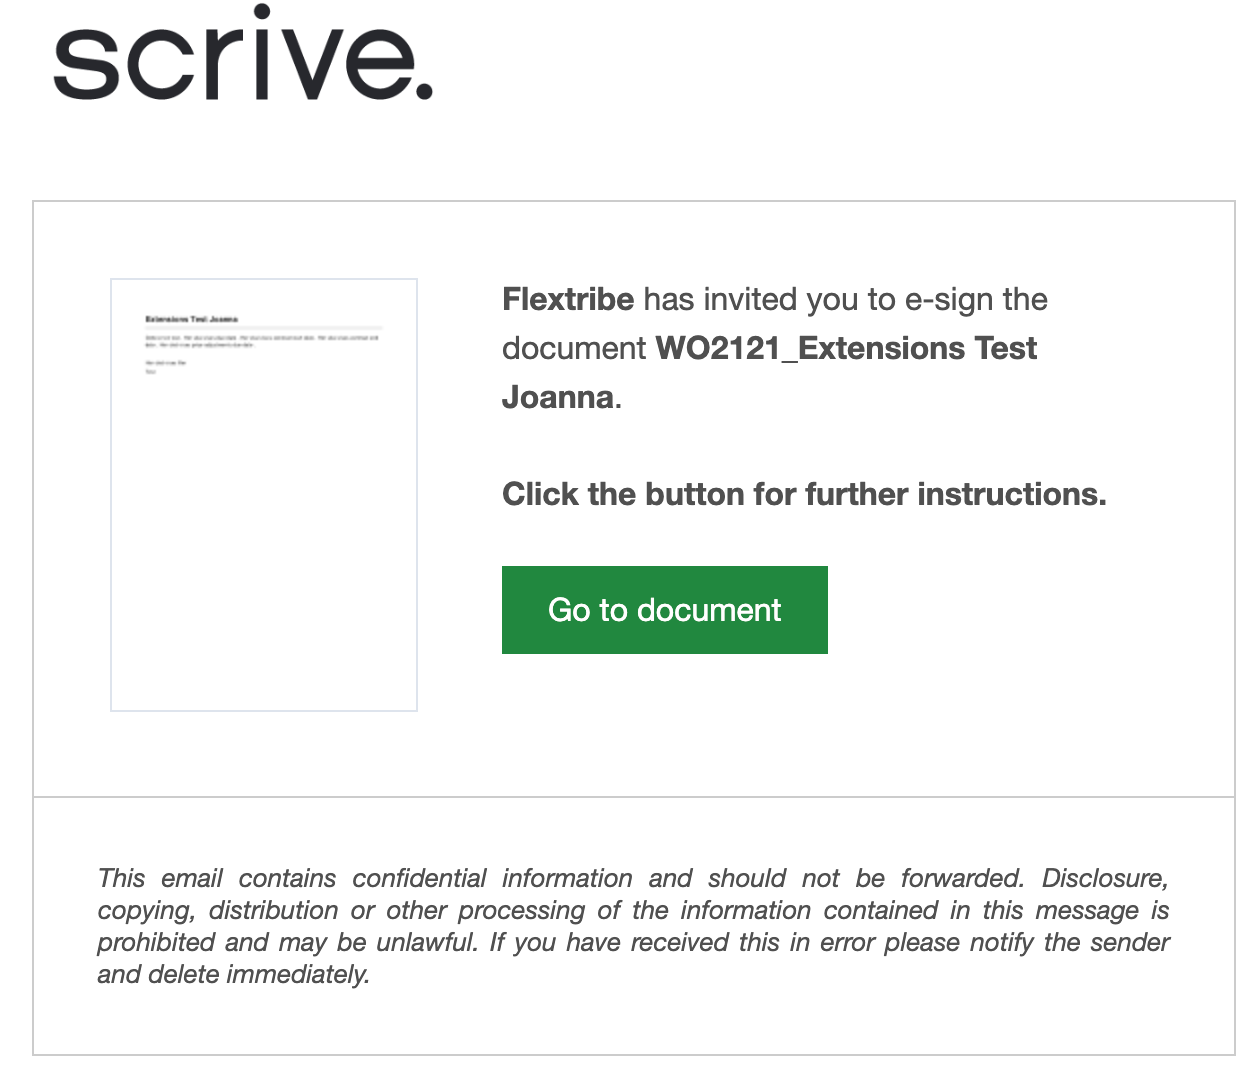
Click Confirm and send. Flextribe triggers signing emails.
For more help, reach out to Flextribe at hello@flextribe.io or click the support chat icon in the bottom-right corner of the platform.
Was this article helpful?
That’s Great!
Thank you for your feedback
Sorry! We couldn't be helpful
Thank you for your feedback
Feedback sent
We appreciate your effort and will try to fix the article